British Cuisine · Potato Dishes

Jacket Potato Ninja Style UK

Who doesn’t love a good old jacket potato? Smothered in butter? It’s an oldie but a goodie. Perfect with so many dishes, for lunch or dinner, it’s just so versatile. But I’m pretty fussy with my spuds and if it’s still hard in the middle, I’m not going to be happy!!

With that, it was important for me to get this one right. It’s something we eat fairly frequently especially during winter. We often have to make different side dishes in our house as I LOVE a jacket whilst my husband LOVES mash. I’m really not a fan of mashed potatoes. Don’t ask me why, I think it’s one of those texture things from when I was a kid that I’ve just never grown out of.

Ingredients

  • Jacket potato
  • Salt and pepper
  • Olive oil

Recipe

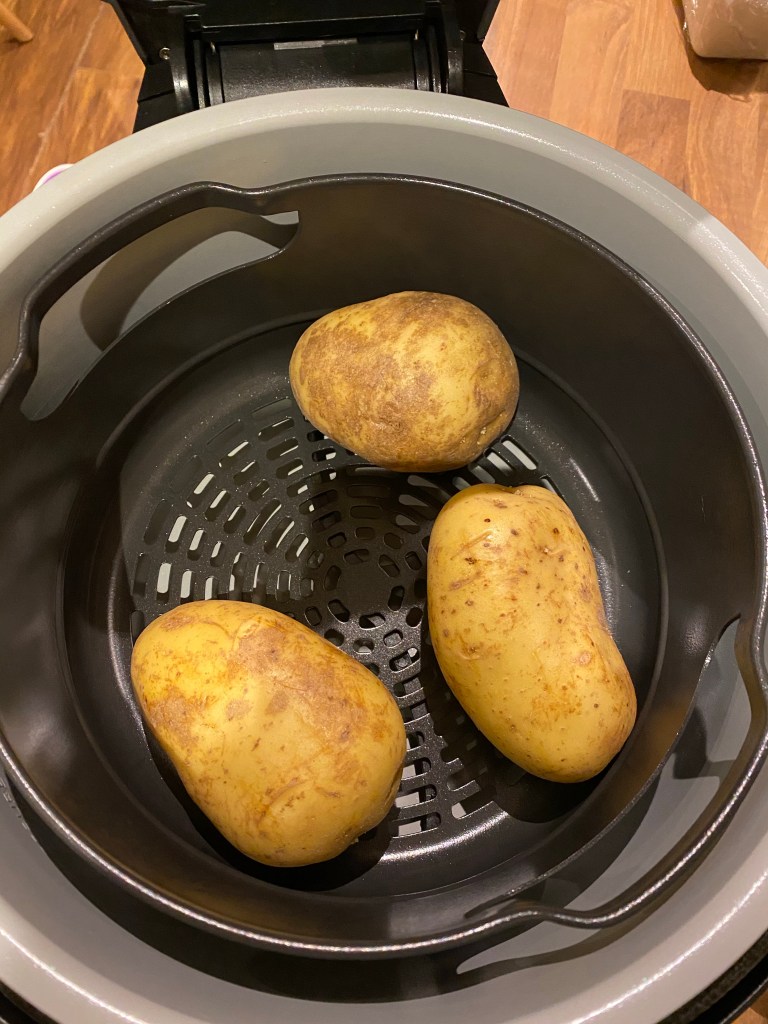
1. Stab the potatoes all over with a fork.

2. Place inside the multicooker inside the crisper basket.

3. Add 300ml water to the cooking pot.

4. Pop the pressure lid on and turn vent to ‘seal’.

5. Select the option to ‘pressure cook’. Put on ‘hi’ and put timer on for 12 minutes. Select ‘start’.

6. Once the potatoes are done. Before removing the water make sure you are happy with how soft the spuds are. If not just repeat the process for a few more minutes of pressure cooking. Otherwise remove the potatoes and carefully empty the water away.

7. On a plate pour some olive oil and add salt and pepper. Ensure the whole of the potato is covered.

8. Place the potatoes back into the crisper basket and back inside the multicooker.

9. Select the ‘bake/roast’ option. Put the temperature to 200 degrees and timer for 15 minutes. Press ‘start’. Once this step is complete check to see whether the potatoes are crispy enough.

10. If you prefer even crispier than this you can then select the ‘air fryer’ mode and fry them for 5 minutes extra or longer for preference.

Italian

Spaghetti Bolognese Ninja Style UK

This has been my go to recipe for spaghetti Bolognese now for over a year. It’s from a wonderful blog called Spend With Pennies which I’ll link at the bottom in case you’d like to explore further. I just love the sheer amount of herbs within this recipe, it really makes it so flavourful. I really don’t think there is much to improve on this original recipe however we do like to add some bacon in my house but this is down to personal preference. I also like to add in a finely chopped red pepper just to get some extra veggies in there.

Ingredients

  • 2 tsp olive oil
  • 4 garlic cloves
  • 1 onion (finely chopped)
  • 200g bacon lardons
  • 1 red pepper
  • 500g lean mince beef
  • 400g crushed tomatoes
  • 4 tbsps tomato purée
  • 3 beef stock cubes
  • 1 cup water
  • 2 tsp Worcestershire sauce
  • 3 tsp oregano
  • 2 tsp dried thyme
  • 3 bay leaves
  • Salt and pepper to taste
  • spaghetti

Recipe

1. Select the ‘sear / sauté’ option on your cooker. Heat a tsp of olive oil and then add your mince in to brown. Once browned remove and place on a plate for later.

2. Keeping your cooker switched to ‘sauté’ add chopped onion and bacon lardons in to soften and brown.

3. Crush 4 cloves of garlic into the cooker and mix in with the onions. Add in chopped red pepper and allow to soften.

4. Add the mince beef back into the cooker and stir it altogether.

5. Add in the remaining ingredients – chopped tomatoes, tomatoe purée, water, beef stock cubes, Worcestershire sauce, oregano, thyme and bay leaves and mix together.

6. Put the pressure lid on with the vent turned to ‘vent’. Select the ‘slow cooker’ option. Select hi for 4 hours. Alternatively cook on low for 8 hours.

7. Bring a pan of water to the boil and add your spaghetti. Following the instructions on the packet, I think it roughly takes between 10 and 12 minutes to cook depending on the way you like it.

Serve with some yummy garlic bread. I know the original recipe advises to add the spaghetti into the sauce prior to serving which isn’t something I’ve actually tried yet. I’ll have to give it a go and get back to you. Here is the link to the original article with the recipe this has been adapted from as promised. I hope you will enjoy this meal as much as I do.

Bacon recipe · British Cuisine · Cheese Recipes

Crispy Macaroni and Cheese Ninja Style UK

This recipe is another great one for little kids especially fussy ones! It’s quick and easy to do and only a couple of ingredients needed. It’s so tasty I can never resist a bowl myself, I just don’t have the will power! Another perk to this recipe is that you can add any other ingredients in that you fancy. Further down I will list a couple of ideas for inspiration.

Ingredients

– tsp olive oil

– bacon (I like to use lardons for this)

– 2 cups of macaroni

– 1 chicken stock cube

– 2 cups of water

– 2 tbsps butter

– 4 cups cheddar cheese

– 1 or 2 bags cheese and onion walkers crisps

Recipe

1 To start you need to press the ‘sear/ sauté‘ option and then ‘hi’. Put one tsp of oil in and let it heat up.

2. If you are using rashers of bacon you will need to chop into small pieces and once the cooker is heated add them into the pot. If using bacon lardons just add them directly into the cooker. Keep stirring until the bacon is browned.

3. Remove the browned bacon pieces and place in a bowl to use later. Switch the Ninja to ‘pressure’ mode.

4. Make up 2 cups of chicken stock using the stock cube and pour the liquid into the cooker. Add two cups of macaroni. Place the pressure cooker lid on and ensure the vent is sealed. Select the timer to 3 minutes and press start.

5. Switch the vent to ‘vent’ once the time is up and allow the pot to depressurise. Once all the steam is out remove the lid and stir the pasta. Add in 2 tablespoons of butter and stir to melt.

6. Season with salt and pepper to taste. Add in 2 cups of cheddar cheese and stir to melt.

7. Crush the cheese and onion crisps inside the bag and then sprinkle over the top of the macaroni. Add the remaining two cups of cheese over the top and close the air fryer lid.

8. Select ‘aircrisp’ mode and turn the timer down to 4 minutes. Press start. Keep checking whilst cooking to ensure it’s looking good.

9. Spoon into bowls and serve.

Added extras…

One of the absolute perks of making this dish is you can totally make this your own by putting your own favourite ingredients in. Some ideas for extras you can add in are-

– chives

– various cheeses

– sweetcorn

– sausage

– ham

– peas

You can more or less add anything you like to this dish and it will be delicious. Have fun trying and let me know if you make any spectacular additions!